Create VPC
Create Amazon Virtual Private Cloud (VPC)
ℹ️ Objective
- Create a separate virtual private cloud (VPC) in AWS for the project.
- Automatically set up the necessary network components, including Subnets, an Internet Gateway, NAT Gateways, and Route Tables.
🔒 Execution Steps
1. Access the VPC service
- From the AWS Management Console, search for the VPC service.
- Select VPC from the search results to access the VPC management dashboard.
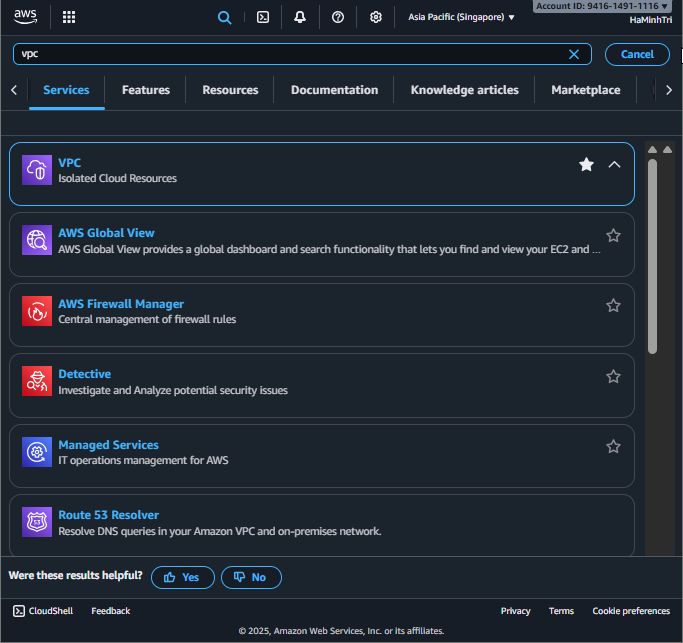
VPC management dashboard
2. Start creating the VPC
- In the VPC Dashboard, click the Create VPC button.
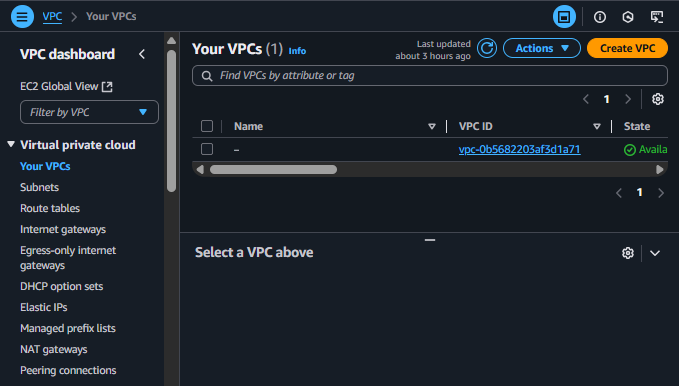
Click the Create VPC button
3. Configure VPC settings
On the Create VPC page, in the Resources to create section, select VPC and more to use the automatic creation wizard.
Detailed configuration:
- Name tag auto-generation:
project-vpc - IPv4 CIDR block: Leave the default
10.0.0.0/16. - Number of Availability Zones (AZs):
2 - Number of Public subnets:
2 - Number of Private subnets:
2 - NAT gateways:
1 per AZ(Or selectIn 1 AZif you want to save costs) - VPC endpoints:
None
- Name tag auto-generation:
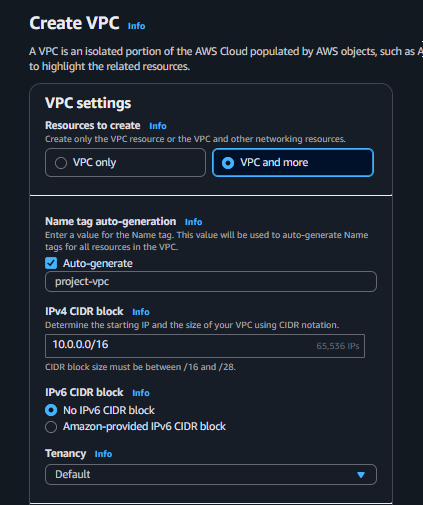
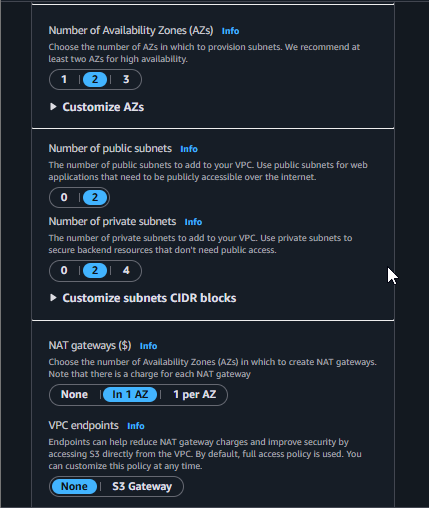
Configure VPC and more
Note: Creating NAT Gateways will incur costs. Please delete the resources after completing the workshop to avoid unwanted charges.
4. Confirm and create VPC
- After filling in all the information, click Create VPC at the bottom right corner to start the creation process.
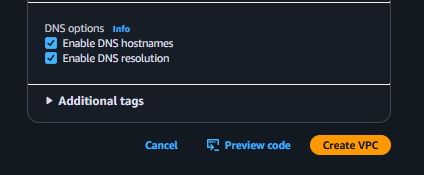
Finalize and create VPC
5. Check VPC status
- The resource creation process may take a few minutes. Upon completion, you will see a success notification screen.
- Click View VPC to review the created resources.
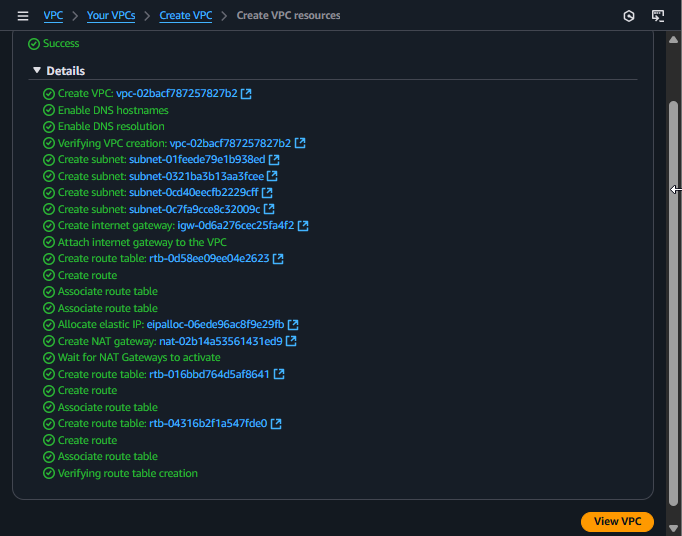
VPC creation successful message
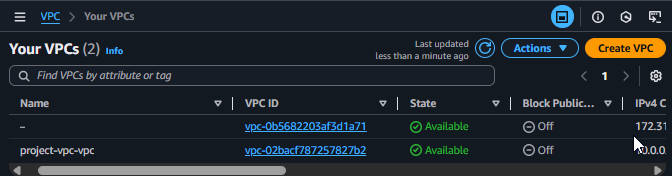
- You will be redirected to the VPC list page, where the newly created
project-vpcwill have a status of Available.