Connecting to the Server
Detailed Guide for MobaXterm Commands
In this section, you will execute commands to connect from your local machine to the Bastion Host, and then from the Bastion Host to the Backend server to install and run the application.
Note: The commands should be executed sequentially. Ensure you have successfully connected in the previous step before proceeding to the next one.
1. Connect to the Bastion Host
This is the first step, connecting from your computer to the Bastion Host in the Public Subnet.
- Open MobaXterm and create a new SSH session.
- Remote host: Enter the Public IPv4 address of
project-bastion-host-ec2. - Specify username:
ec2-user. - Use private key: Select the
project-keypair.pemfile you downloaded when creating the EC2 instance.
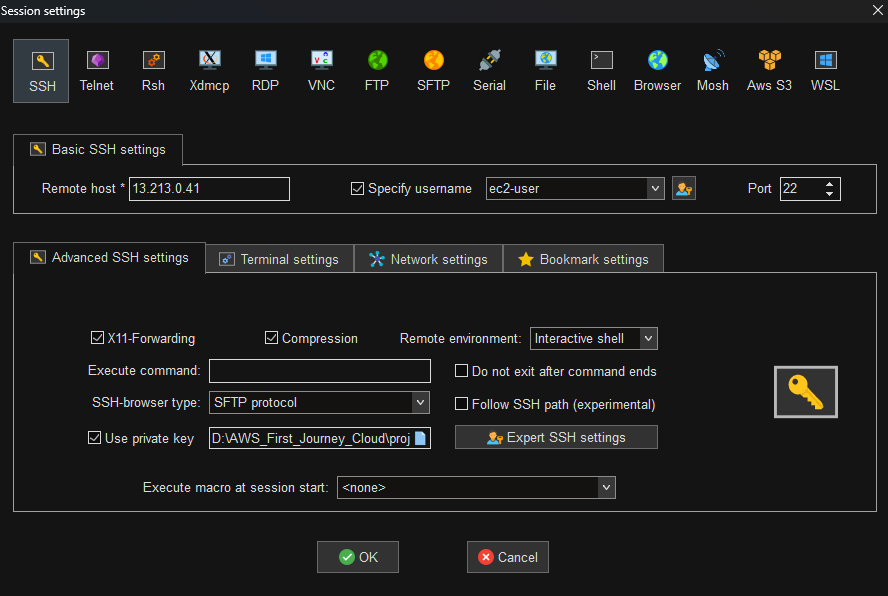
Setting up an SSH session in MobaXterm
2. Jump to the Backend Instance
Now that you are inside the Bastion Host, we need to prepare to connect to the Backend server.
Step 1: Recreate the key pair file on the Bastion Host. Open a text editor like
nanoand paste the content of the.pemfile from your local machine.nano project-keypair.pem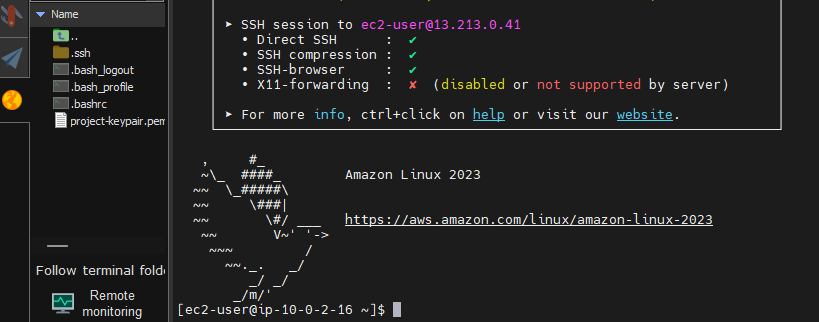
Pasting the key content into nano
Step 2: Set the correct permissions for the key file. SSH requires the key file to be protected; otherwise, it will refuse the connection.
chmod 400 project-keypair.pem
Setting permissions for the key file
Step 3: SSH into the Backend. Use the Private IPv4 address of
project-backend-ec2.ssh -i project-keypair.pem ec2-user@<Private_IP_of_Backend_EC2>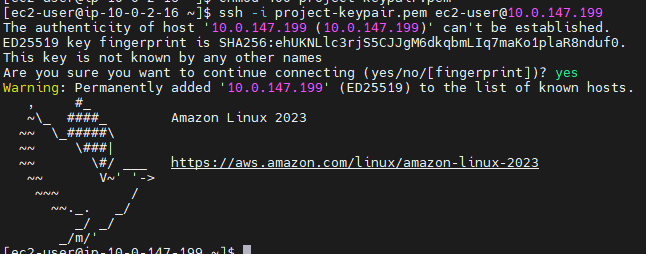
Successfully connected to the Backend server
3. Set up the Environment and Application on the Backend
Once inside the Backend server, install the necessary tools.
Update the system:
sudo yum update -y
Updating system packages
Install Git:
sudo yum install -y git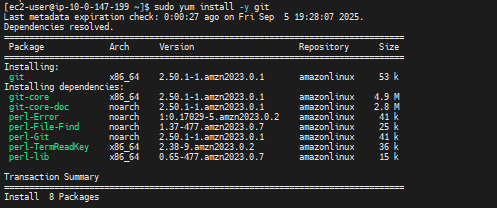
Installing Git
Clone the project source code from GitHub:
git clone https://github.com/tuilatri/weather-application.git
Cloning the project
Navigate into the backend directory:
cd weather-application/backend
Changing to the backend directory
Install Node.js:
sudo dnf install -y nodejs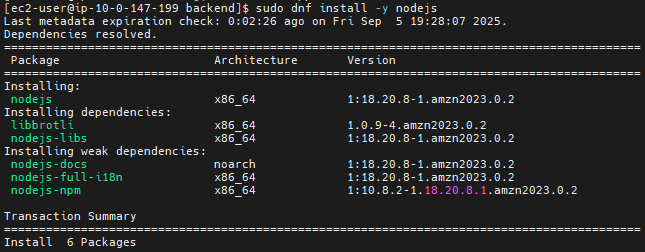
Installing Node.js
Install project dependencies:
npm install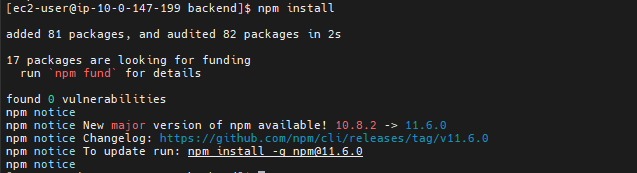
Installing npm packages
Configure environment variables:
nano .env
Configuring the .env file
4. Start and Test the Backend
Start the application:
npm run start
Backend application is running
Test the application directly on the server: Open another terminal window in MobaXterm, connect again, and then use the
curlcommand to test.curl http://localhost:3000/
Testing the backend with curl
5. Update the Frontend with the Backend’s CloudFront Address
After the Backend is operational, you need to get the Backend’s CloudFront URL and update it in the Frontend’s configuration file on S3.
Step 1: Get the Backend’s CloudFront Distribution Domain Name. Go to the CloudFront service in the AWS Console, find and copy the Domain Name of the distribution pointing to the backend.
Step 2: Access the S3 bucket containing the Frontend source code. Go to the S3 service and select the bucket that holds the frontend source code.
Step 3: Open and edit the
api.jsfile. Find theapi.jsfile (usually in ajsfolder or similar), select the file, and click Edit.Step 4: Update the API address. In the file’s content, find the line declaring the API variable and paste the Backend’s CloudFront URL. Then click Save changes.
// Change the value of this variable
const API_URL = 'https://your-cloudfront-backend-domain.cloudfront.net';
Pasting the CloudFront URL and saving
Step 5: Wait for the Frontend’s CloudFront to update. After you save the
api.jsfile, the CloudFront serving the Frontend will need a few minutes to clear the old cache and update to the new version of the file. Please wait about 5-10 minutes before checking the website again.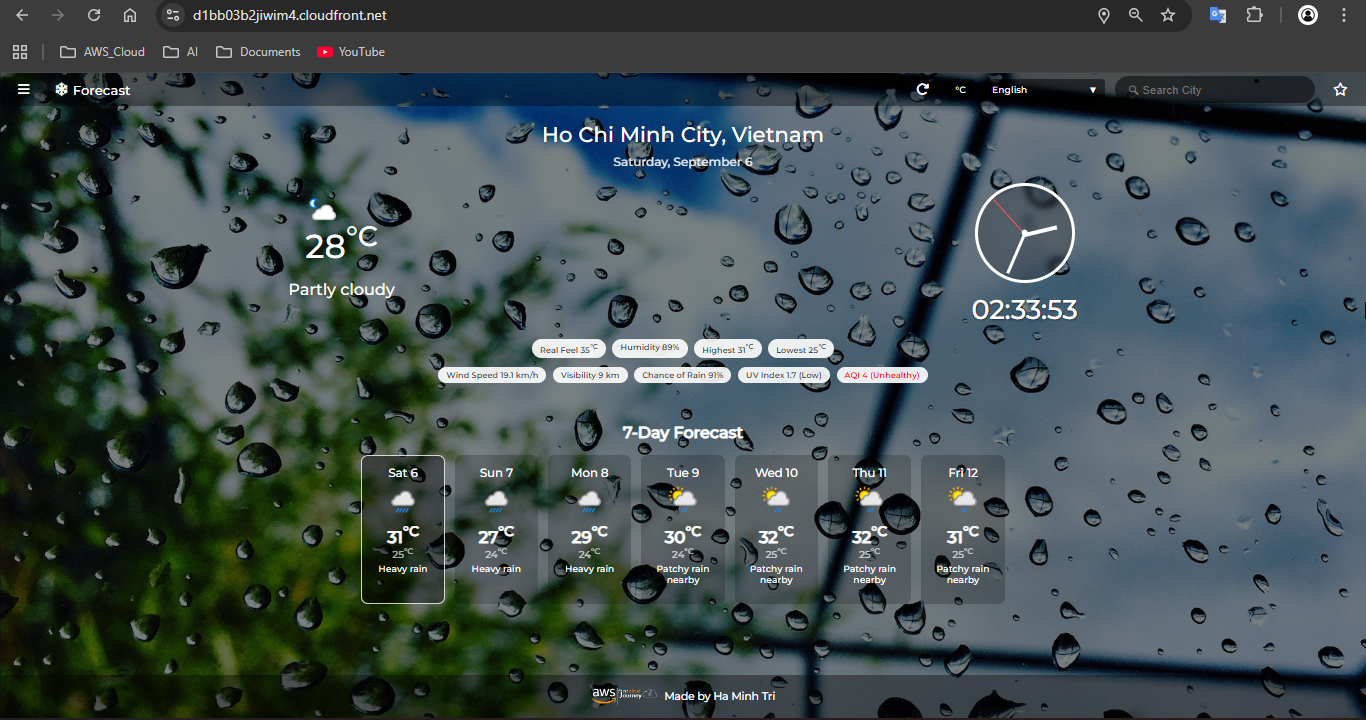
Waiting for CloudFront to update
6. Troubleshooting Guide
If you update the code on GitHub but the changes do not appear on the web, follow these steps on the Backend server:
Pull the latest code:
git pull origin mainFind the running Node.js process:
ps aux | grep nodeStop the old process using its PID:
kill -9 <PID>Real-world example:
[ec2-user@ip-10-0-144-101 backend]$ ps aux | grep node
ec2-user    3117  0.0  6.6 1127836 64896 pts/1   Sl+   10:15   0:00 node server.js

[ec2-user@ip-10-0-144-101 backend]$ kill -9 3117
Restart the application:
npm run start